Configure Liquibase Secure DEV
Procedure
You'll need to configure four essential settings to use the Liquibase Secure DEV extension in VSCode. Most settings are automatically detected, with the option to customize as needed :
Liquibase Home: The location of your Liquibase installation
Java Home: Your Java runtime environment path
PRO Key: Your Liquibase Pro license key
Configuration Path: Where your settings are stored (defaults to ".liquibase")
All settings can be adjusted through Extension Settings if the auto-detection doesn't match your setup. This guide will walk you through configuring each one to quickly get you up and running.
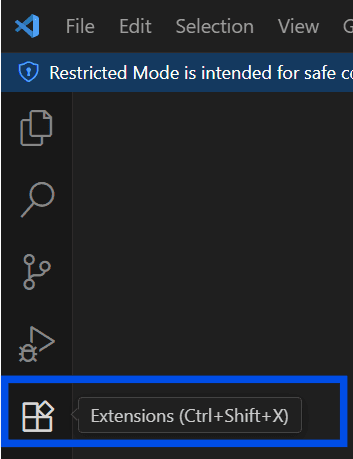
Open VS Code and select the Extensions icon in the left side navigation.
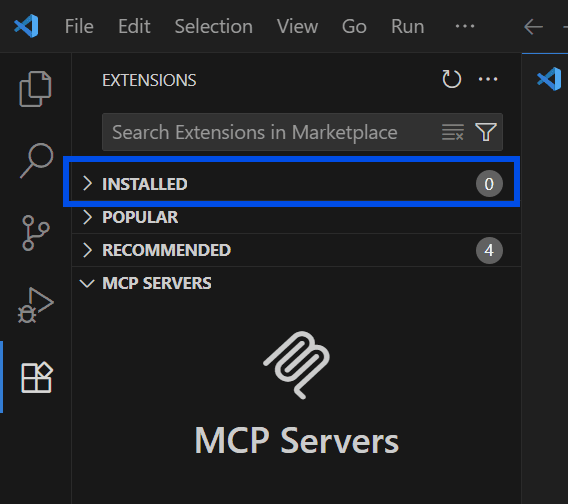
Find the Liquibase Secure Developer extension in your installed extensions.
Select the gear icon next to Liquibase Secure Developer.
Select Settings from the drop-down menu.
This opens the Liquibase Secure Developer extension settings page, which contains all user-supplied and auto-detected configuration options for the extension.
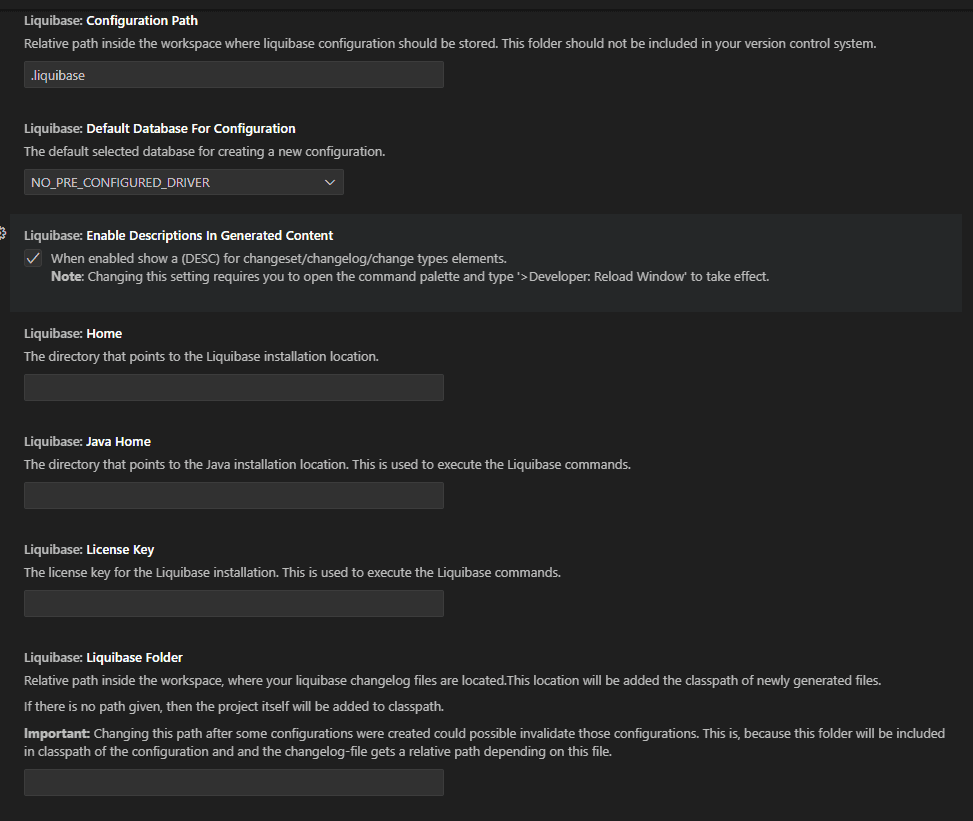
In this dialog, review these four settings and ensure they are correct.
Liquibase Home: The location of your Liquibase installation
Java Home :Your Java runtime environment path
Secure Key :Your Liquibase Secure license key
Configuration Path :Where your settings are stored (defaults to ".liquibase")
Results
All Liquibase Secure DEV settings are configured, and you are ready to begin deploying database changes.